(alongside PwnageTool and RedSn0w).
Sn0wbreeze 2.5 is hardly different from its last beta, except that is uses i0n1c’s untethered exploit. An added bonus is that the hidden multitouch gestures in iOS 4.3 are enabled with Sn0wBreeze. These gestures were unearthed a couple of months ago, and iH8sn0w has found a way to enable them in his latest jailbreak tool.
Sn0wBreeze is not recommended for those wishing to preserve their unlock. Again, Sn0wBreeze is Windows only.
Step 1: Download Sn0wBreeze from our iPhone downloads section. Also download the iOS firmware for your device. Save both files on your desktop.
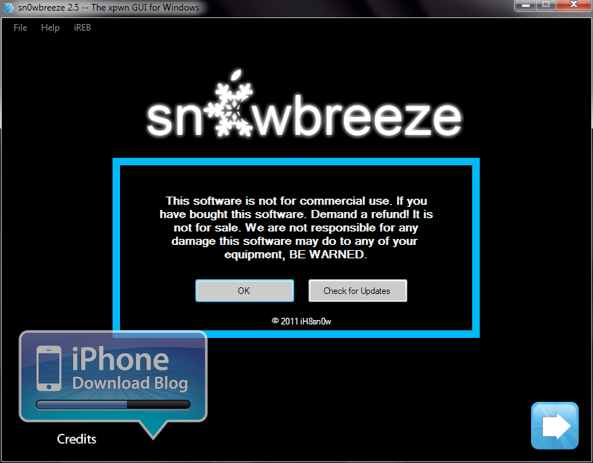
Step 2: Launch Sn0wbreeze and agree to the warning by clicking OK.
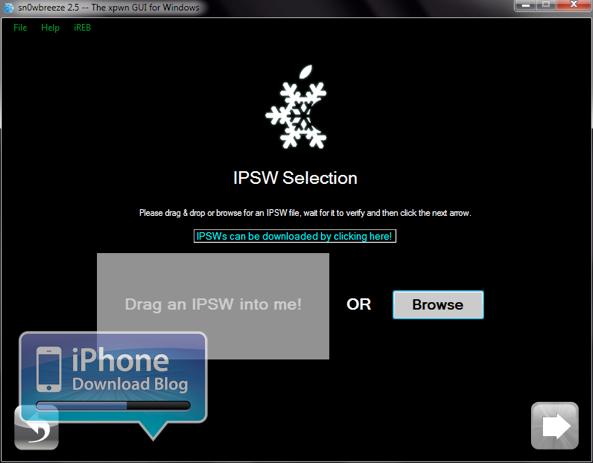
Step 3: Add your 4.3.1 IPSW file from iTunes by either dragging it or browsing for it manually.
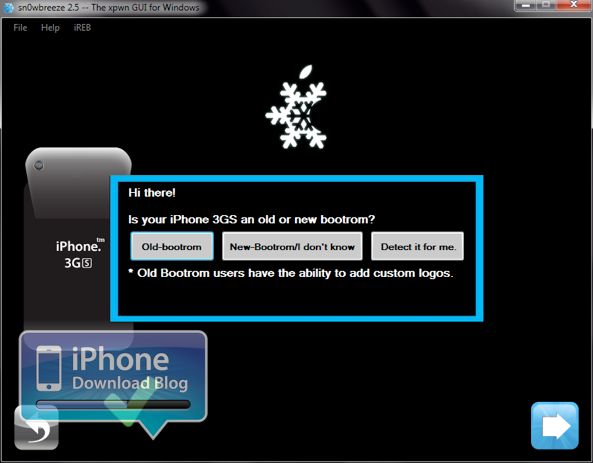
Step 4: Select your bootrom choice. If you do not know your bootrom, select either “New-bootrom/I don’t know” or “Detect it for me.” For the purpose of this tutorial, we will select the 2nd option.
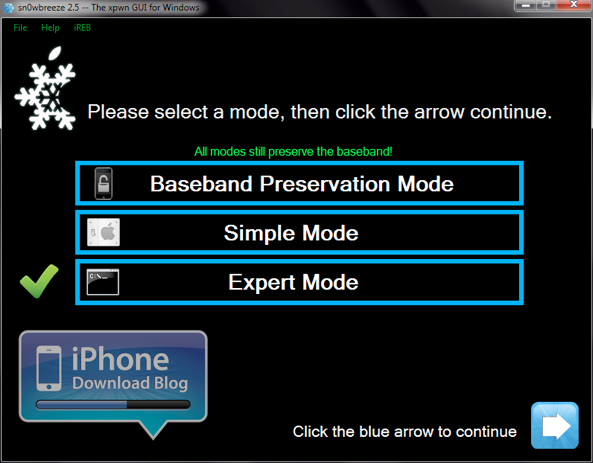
Step 5: Select “Expert Mode.”
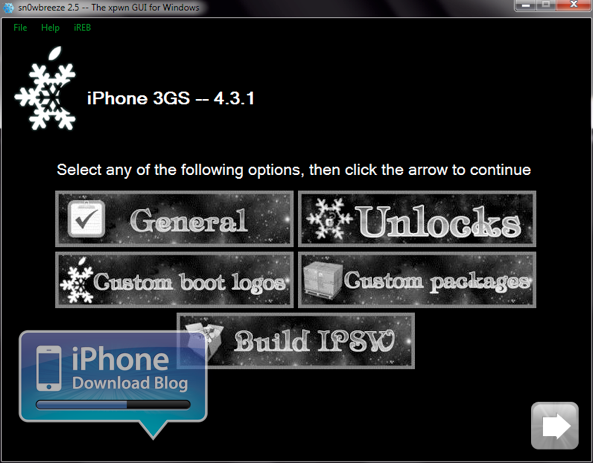
Step 6: Select “General”
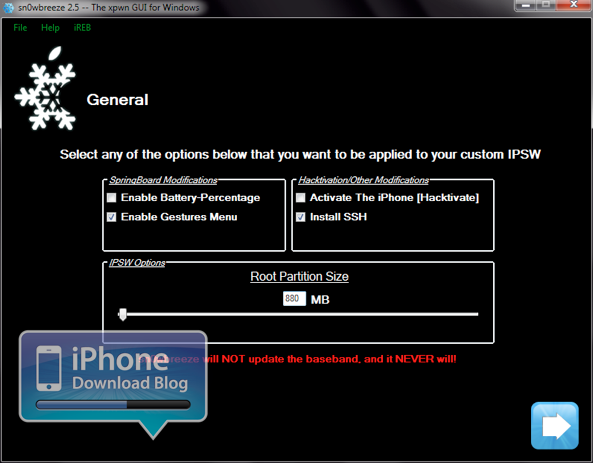
Step 7: Make sure to “Enable Gestures Menu” to unlock the hidden mulitouch gestures. We also recommend installing SSH. For the purpose of this tutorial, we will not select the activate option. If you are on an official carrier (ex: AT&T in the U.S.), you don’t need to worry about activating. Allocate about 880 MB of space for your partition.
Step 8: In the custom packages option you can pre-install Cydia packages to be built into your custom IPSW file. For the purpose of this tutorial, we will not install any extra packages.

Step 9: Once you have fully customized your IPSW, click the “Build IPSW” option.
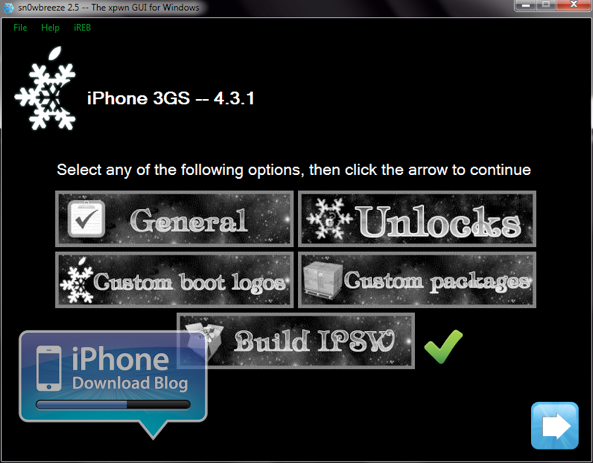
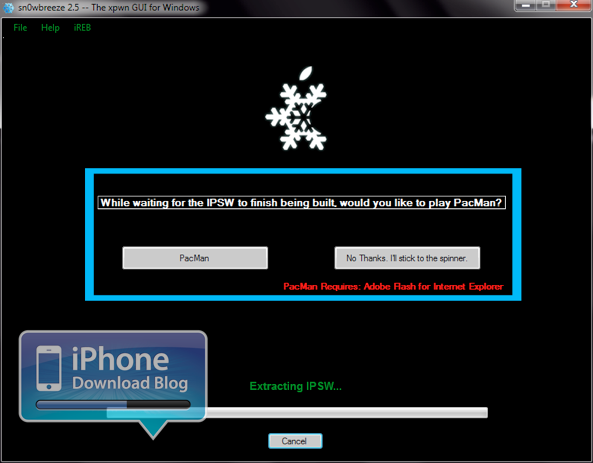
Step 10: Once Sn0wBreeze has built your IPSW (you can play a little PacMan while you wait), you will now have the custom firmware file needed to restore and jailbreak your iPhone.
Step 11: Follow the instructions for putting your iPhone into DFU mode.
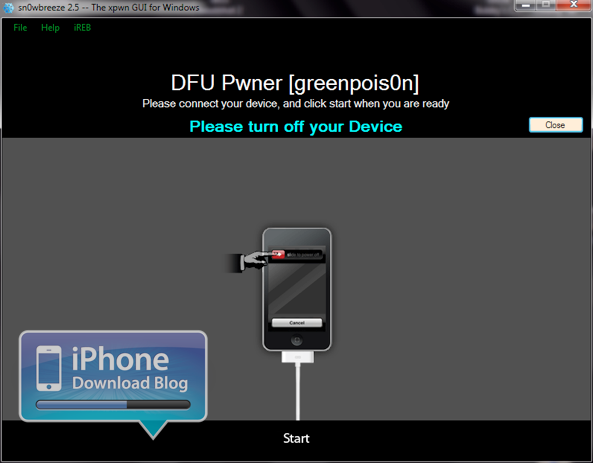
Once your iPhone successfully comes out of DFU mode (it may take a couple of attempts on your part), you should now have an untethered jailbreak on iOS 4.3.1 with hidden multitouch gestures!
Let us know if this tutorial was helpful for you, and what your experience with Sn0wBreeze is like for jailbreaking iOS 4.3.1. What do you think about those multitouch gestures?
via[iDB]

doesn't work
ReplyDelete